Walls, roofs, and floors play a fundamental role in building construction. But flooring is the most crucial and functional component because it is the floor that is used the most. So, the flooring deserves some extra attention. Concrete flooring is considered to be the most durable and reliable among different kinds of flooring techniques which is not wrong. But despite this fact, concrete floors are prone to stains and often uneven, contrary to their durability.
If your floor is similarly uneven and full of cracks, then there is no need to worry. Because there is an easy and long-lasting solution called self-leveling flooring. Self-leveling flooring uses a variety of compounds made from materials with very high flow characteristics. Because of this feature, they level themselves before drying. Polymer-modified cement and self-leveling epoxy coating are examples of such compounds. Here are some tips to prepare your floor for self-leveling.
Plan like a Pro
Propper planning is the key to any undertaking, so start with assessing the condition of the concrete. Once you have determined the state of the floor, you will know how much material you need and what other preparations you need before applying the self-leveling compound.
Cleanliness is next to Godliness!
First, remove all items like furniture and other appliances from the room and then clean the floor as much as possible. When cleaning the floor, take special care not to leave any stains, especially grease, flaking paint, or anything sticky. Any such material or pigments can compromise the durability of your self-leveling substance.
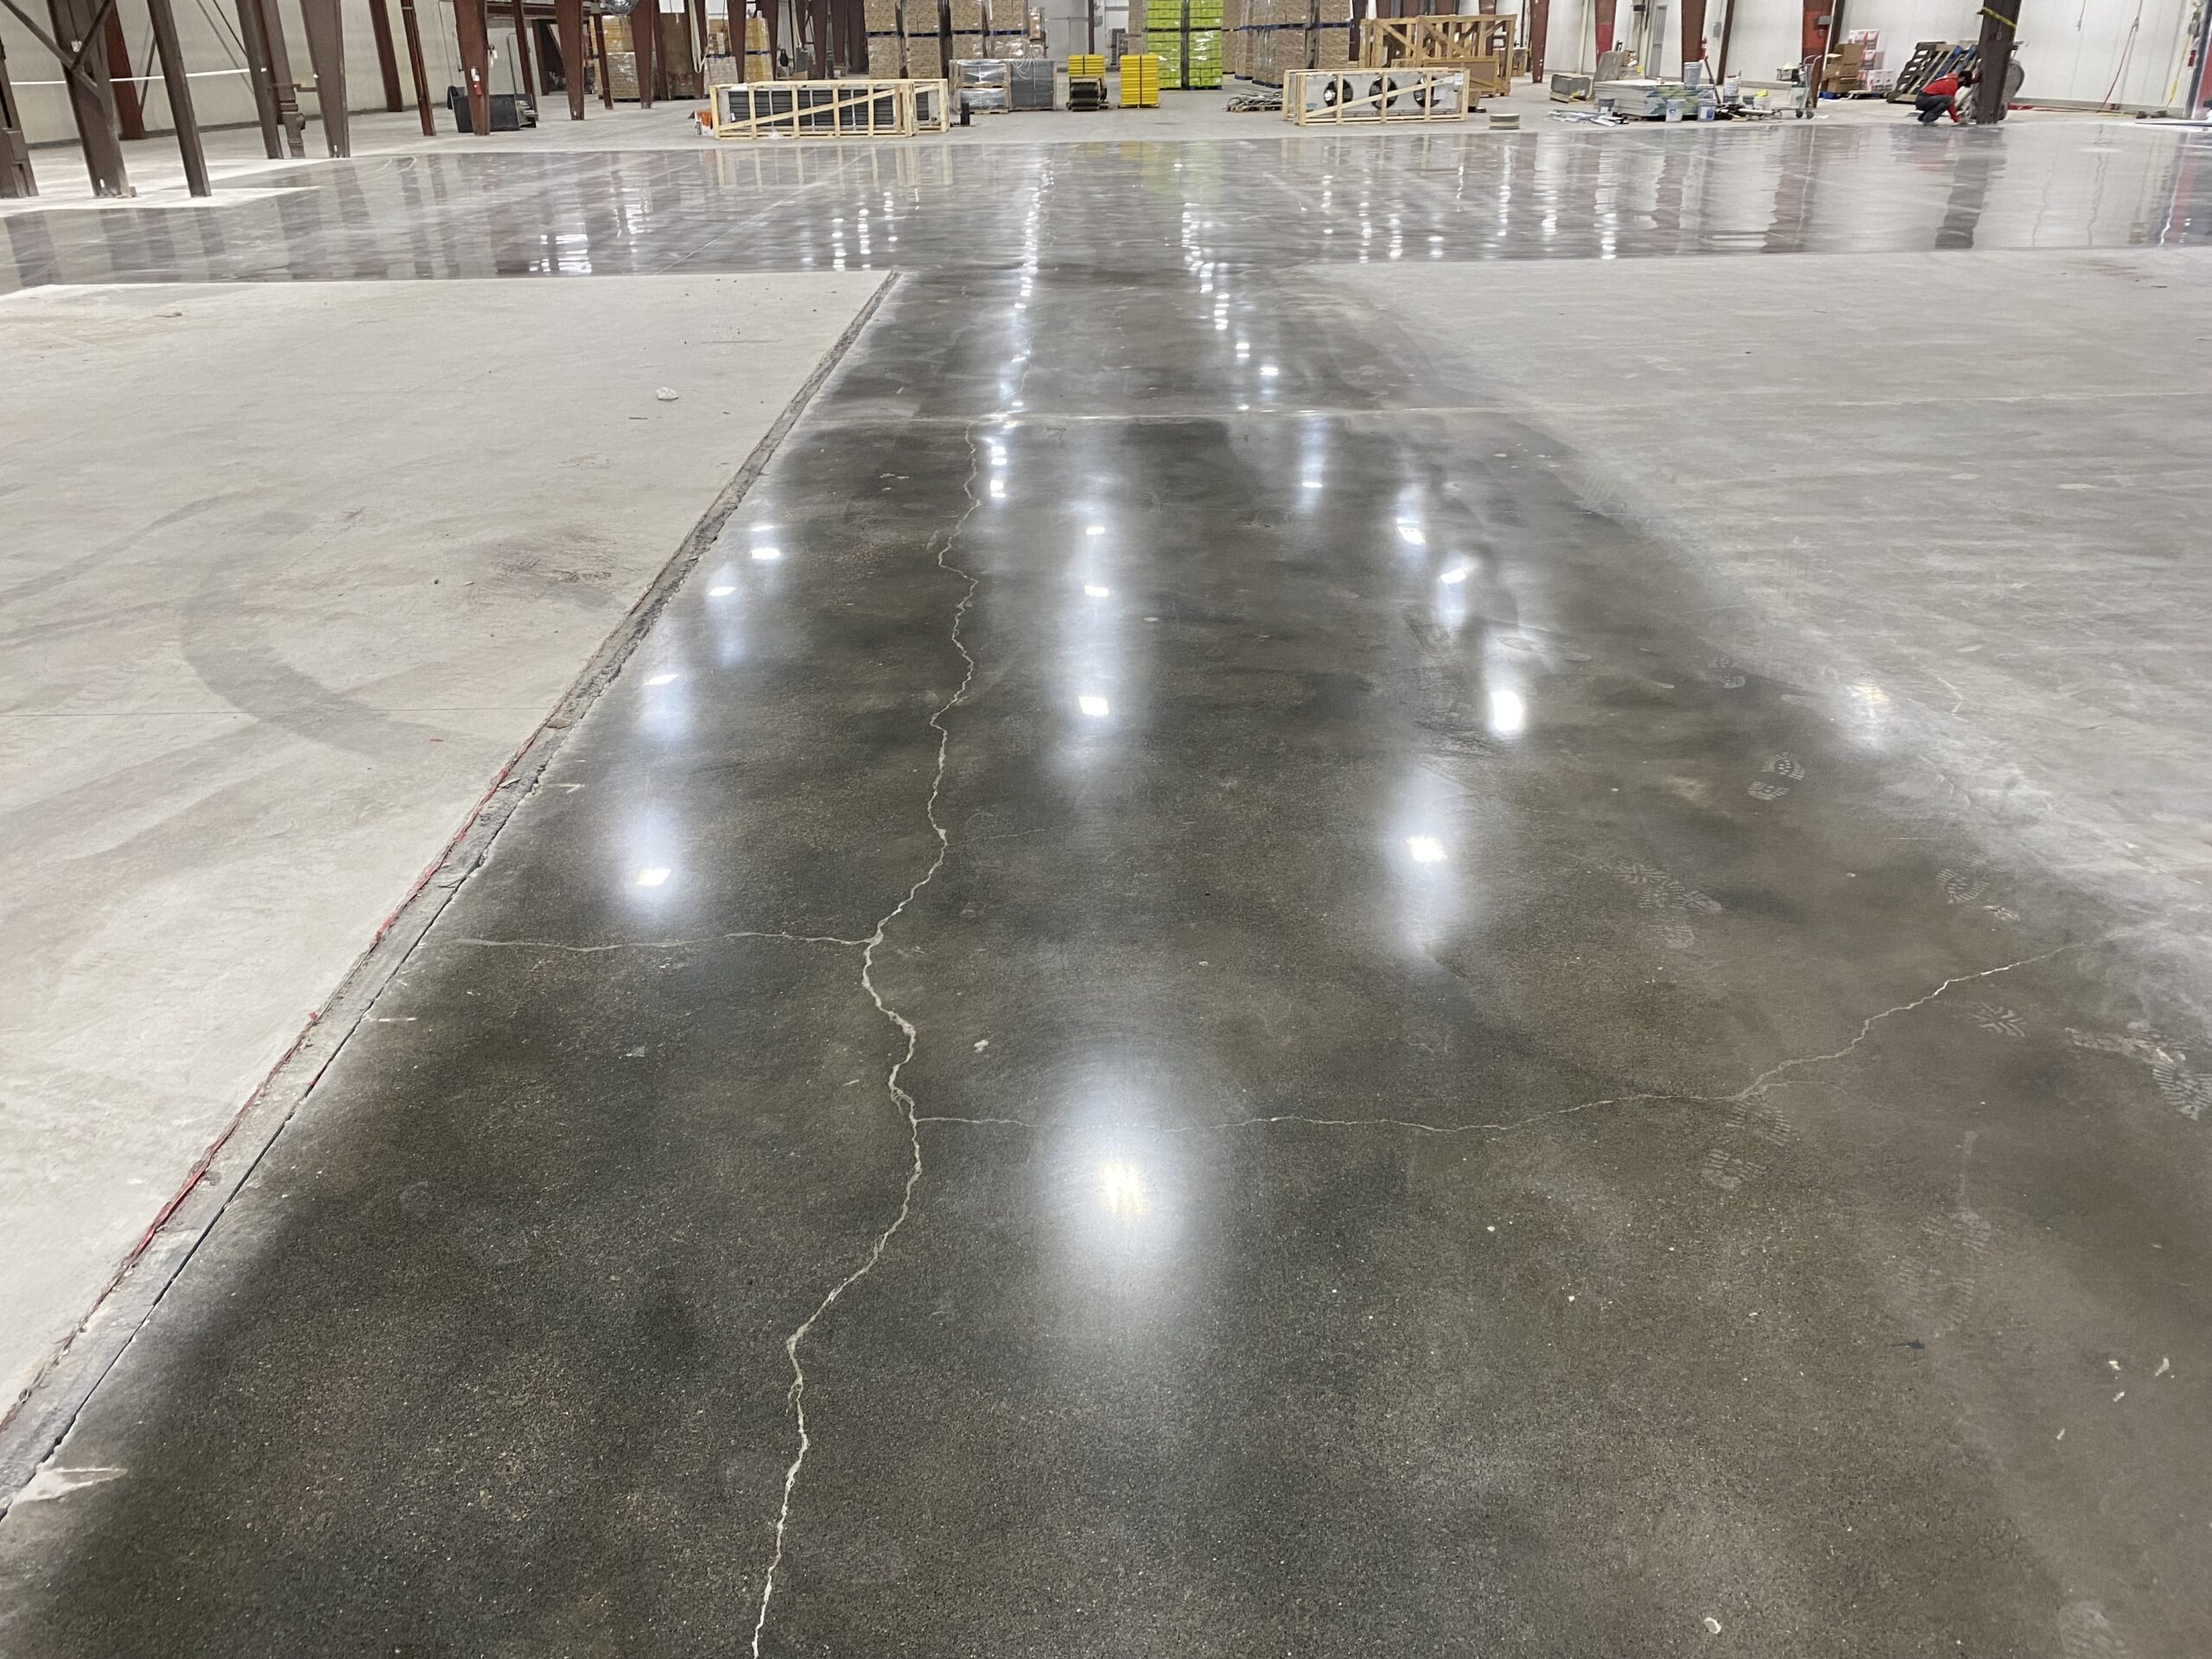
Fill up Cracks in the Floor
A fundamental task before applying the self-leveling material is to fill the cracks. After cleaning, identify all cracks in the cement floor and seal them with filling material and sealer. It’s not a very difficult task. If you have a concrete filling nozzle, you can easily do this with it. Otherwise, it can be done by trowel.
Apply the Premier
Now your floor is ready for self-leveling. But before that, a leveling primer must be applied on the floor. The primer coating is critically crucial. Because it not only seals the concrete floor and fills the gaps and pinholes but also provides adhesion for the primer self-leveling compound.
The primer should be applied with a bristle push broom, applying downward pressure while spreading it over the floor so that it penetrates the pores in the concrete and closes them. The primer needs about 24 hours to dry, so allow it to dry before applying the self-leveling compound.
Mixing the Compound
Now is the time to apply the self-leveling compound. Mix the self-leveling compound thoroughly with the directed amount of water in a bucket with the help of a mixing paddle. Typically, 4.5 to 5 quarts of water are added to 50 pounds of the compound. When proper screed lines are formed, pour it on the floor. Start spreading it on the floor with the help of a long-handled squeegee. In four to five-hours, the floor will be walkable, and in 24 hours you can place lightweight items on it.
Tip: Mix one bag of leveling compound at a time as it starts to dry in 15 to 20 minutes. Also, when applying self-leveling, try to have two people working so that while one person is spreading the compound, the other is mixing the next batch.
Some Important Tips
- Read and follow the manufacturer’s instructions carefully.
- Keep everything you need on standby.
- Store the floor leveler in a dry place.
- Mix the floor leveler to the appropriate temperature.
- Do not spread extra flooring leveler than necessary because it takes a long time to dry.